

Hierarchical Level of Detail (HLOD) Setup for UE4 2.1
HLODs are large assets that replace collections of assets that draw from long distances. This is useful for reducing draw calls and tri-counts when you’re working with large levels with long lines of sight. But the system is a bit tricky and misleading at times with the documentation being a little cryptic (to me at least). So I’ve done some tests and found some tips and tricks that you might find helpful in your personal projects or game development.
- TO MERGE OR NOT TO MERGE
There are two pretty straight forward approaches to HLODs. You can either merge or not merge. By merge, I mean you can simplify your meshes which is called creating a ‘proxy’ mesh. The proxy will give you good results in terms of performance for a few reasons, and within certain limitations… One reason is massive reduction in draw calls on screen. This is due to being able to merge the materials on top of merging the assets themselves.
The non-merging method is still a form of merging, but instead of simplifying your selected meshes, you will be combining them into one asset but leaving the materials intact. This is useful for assets that have very complicated materials or even more specific reasons like for example, a very bright emissive element that can be seen from greater distances.
- THE TOOL
There are two things you need to do before you start setting up your clusters for HLODs.
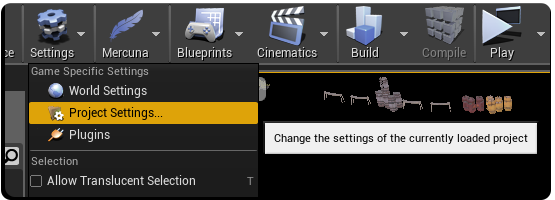
Enable the tool in project settings. [ Settings icon > Project Settings ]

You’ll then want to enable the system in each sublevel, including your persistent level. This is done in world settings (each sublevel has it’s own world settings!). For multiple sublevels, navigate to each one in content browser, right click and click ‘edit’. Once the sublevel is open, go to your world settings [ Window > World Settings ] and type LOD in the search bar. Tick the box for ‘Enable Hierarchical LODSystem’.
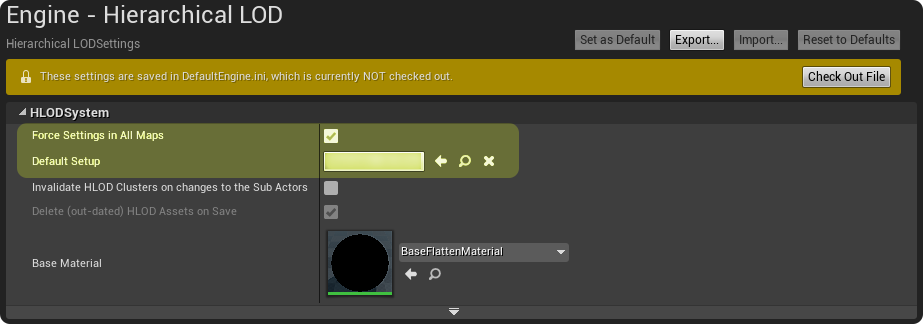
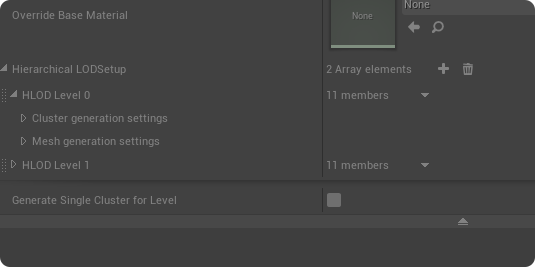
You should notice the next option which is the HLODSetup Asset. Go ahead and eye glass that asset. It’s an in-engine blueprint that holds the global settings of your HLOD setup. Duplicate that blueprint and save it in your content folder. This will be the default HLOD setup you plug into the picture above, which you can open and start editing.
The setup tool is your global merge settings for your games HLODs. I’d recommend doing some testing on your cluster generation settings if you want the engine to handle that for you. Otherwise you can hand-create the clusters from selected objects in your level; this gives better control over your clusters in my opinion.
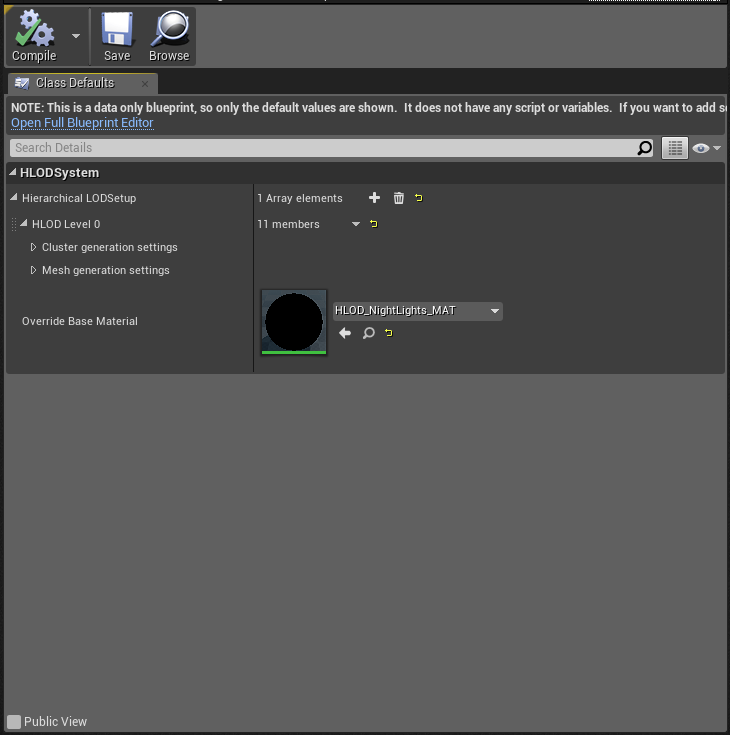
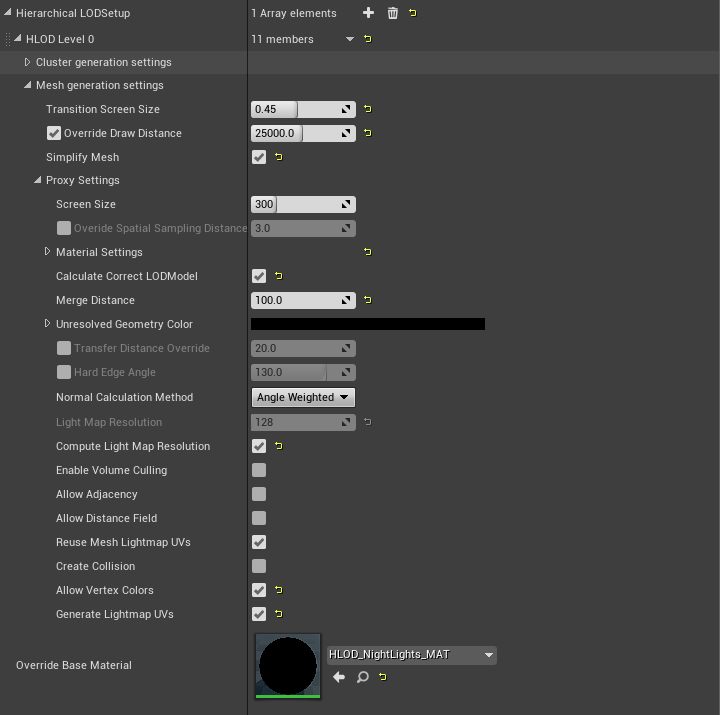
The proxy settings is where you’re going to want to tinker a bit. If you decide to merge your actors but want to keep the existing materials, keep “simplify mesh” unchecked. If you want to merge all your actors and merge the materials, then you’ll want to check that box. You can merge materials in both scenarios, but you cannot keep existing materials if you are going to simplify the mesh.
Once your settings are finished, you can start working on individual sublevels. Open each one individually and start selecting groups of meshes that you need HLODs to replace them.
Select your group of actors and go to your Hierarchical LOD window. Right click on LODLevel – 0, and click “Create Cluster from World Selection“.

After making your HLODs, there are methods to modify those HLODs further. You can make custom materials to make them even cheaper. You can export the HLOD, modify it in your 3d software of choice and reimport it as a custom HLOD – a good idea for further cleanup work. You can also replace the HLOD master mesh and replace it in the sublevel.
Check the details panel of the selected HLOD and peruse through the details panel. Some things to look at are the draw section; where you can control when the HLOD renders, either sooner or later.
Lastly, HLODs can be reduced in the static mesh editor even further with their own LODs if needed. You can remove collision and modify lightmaps as well.
